Download Software Free
3d kitchen design software free download full version
Designing a kitchen can be an overwhelming task, especially with the myriad of options available. Fortunately, 3D kitchen design software has revolutionized how homeowners and designers approach kitchen planning. This article will guide you through the benefits of using 3D kitchen design software, the features to look for, and a step-by-step process on how to effectively use these tools to create your dream kitchen.
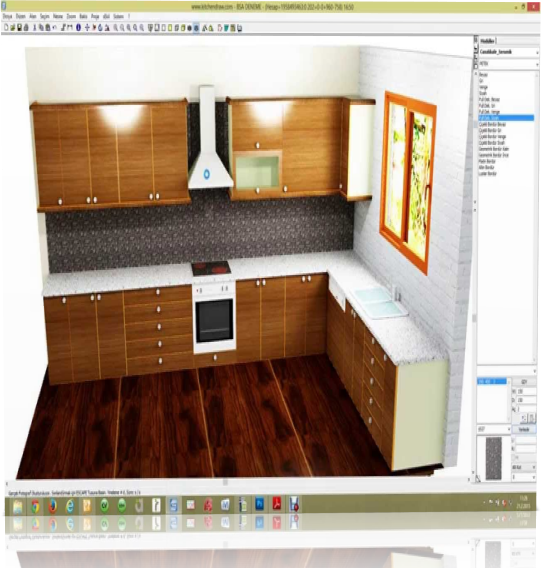
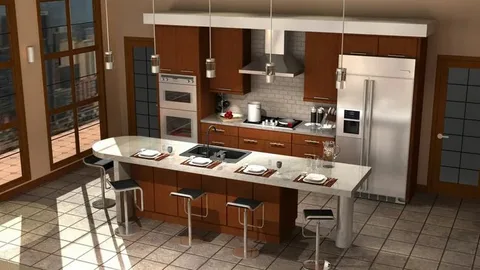
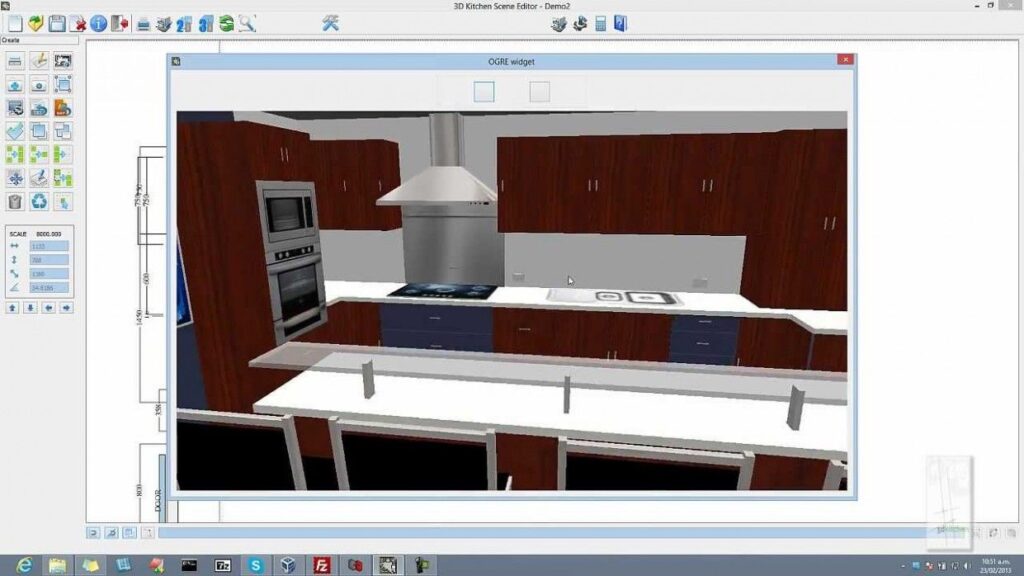
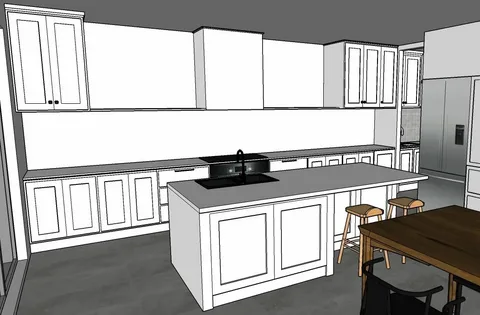
3D kitchen design software allows users to create detailed and realistic visualizations of kitchen spaces. These tools enable homeowners and designers to experiment with layouts, colors, materials, and furnishings in a three-dimensional environment.
Benefits of Using 3D Kitchen Design Software
Visual Representation: See what your kitchen will look like before making any physical changes.
Easy Modifications: Quickly adjust layouts or colors without the need for costly renovations.
Space Management: Optimize the use of space with precise measurements and arrangements.
Cost Efficiency: Reduce the risk of expensive mistakes by testing designs virtually.
User-Friendly: Many platforms are designed with intuitive interfaces, making them accessible even for beginners.
When selecting 3D kitchen design software, consider the following features:
Intuitive Interface: A user-friendly layout that simplifies navigation.
Rich Libraries: Access to a wide range of cabinets, appliances, and decor items.
Customization Options: Ability to modify colors, textures, and materials.
3D Visualization: High-quality rendering options to create realistic images.
Compatibility: Ensure the software works well with other design tools or platforms.
Export Options: Ability to save and share designs in various formats.
Step-by-Step Guide to Using 3D Kitchen Design Software
Step 1: Choose the Right Software
Select a 3D kitchen design software that fits your needs. Some popular options include:
SketchUp: Great for detailed designs and architectural plans.
IKEA Kitchen Planner: Ideal for IKEA products and layouts.
Home Designer Suite: Offers extensive design tools for various home projects.
Step 2: Set Up Your Profile
After choosing your software, create an account if necessary. This may involve inputting your contact information and preferences.
Step 3: Input Room Dimensions
Accurate measurements are crucial. Input the dimensions of your kitchen, including:
Length and width of walls
Height of ceilings
Locations of doors and windows
Step 4: Select a Template or Start from Scratch
Depending on the software, you may have the option to choose a template. This can be a great starting point. Alternatively, you can begin with a blank canvas.
Step 5: Add Architectural Elements
Start by adding structural elements such as walls, windows, and doors. Ensure that these elements align with your kitchen’s actual layout.
Step 6: Incorporate Fixed Features
Next, place items that are typically fixed in a kitchen, such as:
Cabinets
Countertops
Sinks
Appliances
Step 7: Experiment with Layouts
Play around with different arrangements. Move elements around to see how the flow of the kitchen changes. Consider the “kitchen work triangle” for optimal functionality.
Step 8: Customize Decor and Color Schemes
Once the layout is set, begin customizing the decor. Choose colors, materials, and finishes that reflect your style. Most software provides a palette or library of options to help you visualize your choices.
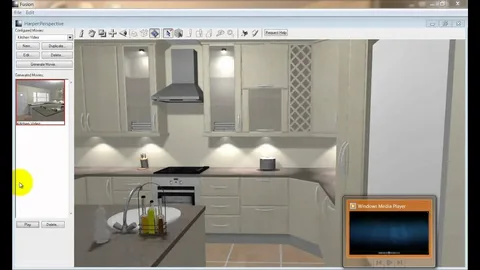
Step 9: Generate 3D Renderings
Use the software’s rendering feature to create 3D images of your kitchen design. This allows you to see how everything looks in a realistic format.
Step 10: Review and Refine
Take a step back and evaluate your design. Make any necessary adjustments to improve functionality or aesthetics.
Step 11: Save and Share Your Design
Once satisfied with your design, save your project. Many programs allow you to export your design as an image or PDF, making it easy to share with contractors or friends.

Features of 3D Kitchen Design Software
The key features of 3D kitchen design software can significantly enhance your design experience:
- User-Friendly Interface: Designed for ease of use, even for those with little technical knowledge.
- 3D Visualization: Offers realistic renderings that provide a clear picture of the final design.
- Customization Options: Extensive libraries for cabinets, countertops, and appliances that can be tailored to your style.
- Floor Planning Tools: Allows for precise measurements and arrangements to maximize space efficiency.
- Virtual Reality Integration: Some software versions offer VR capabilities for an immersive design experience.
These features not only aid in visualizing the kitchen space but also streamline the design process, helping users make informed decisions.
Technical Specifications of This Release
- Version: 2024
- Interface Language: English
- Design by: XYZ Designs
- Type of Software: Kitchen Design Software
- Audio Language: N/A
- Uploader / Repacker Group: DesignSoft
- File Name: 3DKitchenDesign_2024.exe
- Download Size: 250 MB
System Requirements for PC
Minimum Requirements:
- OS: Windows 10 or later
- Processor: Intel i3 or equivalent
- RAM: 4 GB
- Graphics: DirectX 11 compatible
- Storage: 1 GB available space
Recommended Requirements:
- OS: Windows 10 or later
- Processor: Intel i5 or equivalent
- RAM: 8 GB
- Graphics: DirectX 12 compatible
- Storage: 2 GB available space
How to Download and Install the Software
To download the 3D kitchen design software, simply click on the download button on the official website. Once the setup file is downloaded, locate it in your downloads folder. To run the file, you may need to enter a password, which will be provided on the download page. Follow the installation prompts to complete the setup.
How to Start/Use 3D Kitchen Design Software
- Launch the Software: Open the installed software from your desktop or start menu.
- Create a New Project: Select ‘New Project’ from the main menu.
- Choose a Template: Browse through available templates and select one that fits your vision.
- Customize Your Design: Use the drag-and-drop tools to add elements like cabinets, appliances, and countertops.
- Save Your Work: Regularly save your project to avoid losing any progress.
By following these steps, you can effectively utilize the software to create your dream kitchen.
For more information, you can visit the following websites for additional resources and insights:
Each site offers unique resources and insights, so feel free to explore them to find the information you need.

Leave a Reply